How to Program Craftsman Garage Door Remote (Purple Learn Button)

Learn how to program a Craftsman garage door remote using the Learn button in under 5 minutes. This step‑by‑step guide covers purple Learn button Security+ 315 MHz openers, compatible remotes, and common programming issues.

Why program a new Craftsman remote?

If you’ve just moved into a new home, replaced a lost remote, or upgraded your garage door opener, programming a new Craftsman garage door remote is one of the easiest DIY security upgrades you can do. A properly programmed remote ensures only trusted remotes can open your garage, and it’s a task most homeowners can handle in just a few minutes without calling a technician.

This guide walks you through programming a Craftsman garage door remote using the Learn button on the opener, with a focus on openers that use the popular purple Learn button (Security+ 315 MHz). You’ll also learn how Learn button colors affect compatibility and what to check if your remote won’t program or suddenly stops working.

What the Learn button colors mean

Before you press anything, it’s important to know what the Learn button on your opener is telling you.

Most Craftsman, LiftMaster, and Chamberlain openers use a colored Learn/Program button on the motor unit that indicates the radio frequency and security technology. Matching your replacement remote to this color is critical, because a remote designed for one technology often won’t work with another even if the programming steps look identical.

Common Learn button colors and what they usually mean:

  • Green Learn button – Older Billion Code openers, typically around 390 MHz with basic rolling code or older fixed‑code tech.
  • Red / Orange Learn button – Security+ rolling code openers at 390 MHz that require compatible Security+ remotes.
  • Purple Learn button – Security+ rolling code openers at 315 MHz, used by many Sears Craftsman models from mid‑2000s onward and compatible with specific remote families such as 371LM, 373LM, 375LM and equivalent replacements.
  • Yellow Learn button – Newer Security+ 2.0 openers, which use a different encryption scheme and only work with Security+ 2.0 remotes and accessories.

The programming flow (press Learn, then press remote) is similar across these technologies, but the hardware compatibility is not, so always confirm your remote explicitly supports your Learn button color.

What you’ll need

Before you climb the ladder, gather a few basics so you can finish programming in one shot.

  • A Sears Craftsman / LiftMaster / Chamberlain opener with a visible Learn/Program button on the motor unit.
  • A compatible replacement remote that matches your Learn button color and technology.
  • Access to the opener (ladder or step stool if needed).
  • A garage door that is fully closed before you start programming.

In this guide and the matching YouTube video, we’re using a Cooouds 2‑pack remote that is designed specifically for purple Learn button Craftsman/LiftMaster/Chamberlain openers using Security+ 315 MHz.

Step‑by‑step: How to program a Craftsman remote (purple Learn button)

The basic programming steps are straightforward and usually take less than a minute when your remote and opener are compatible.

Step 1 – Locate the Learn button

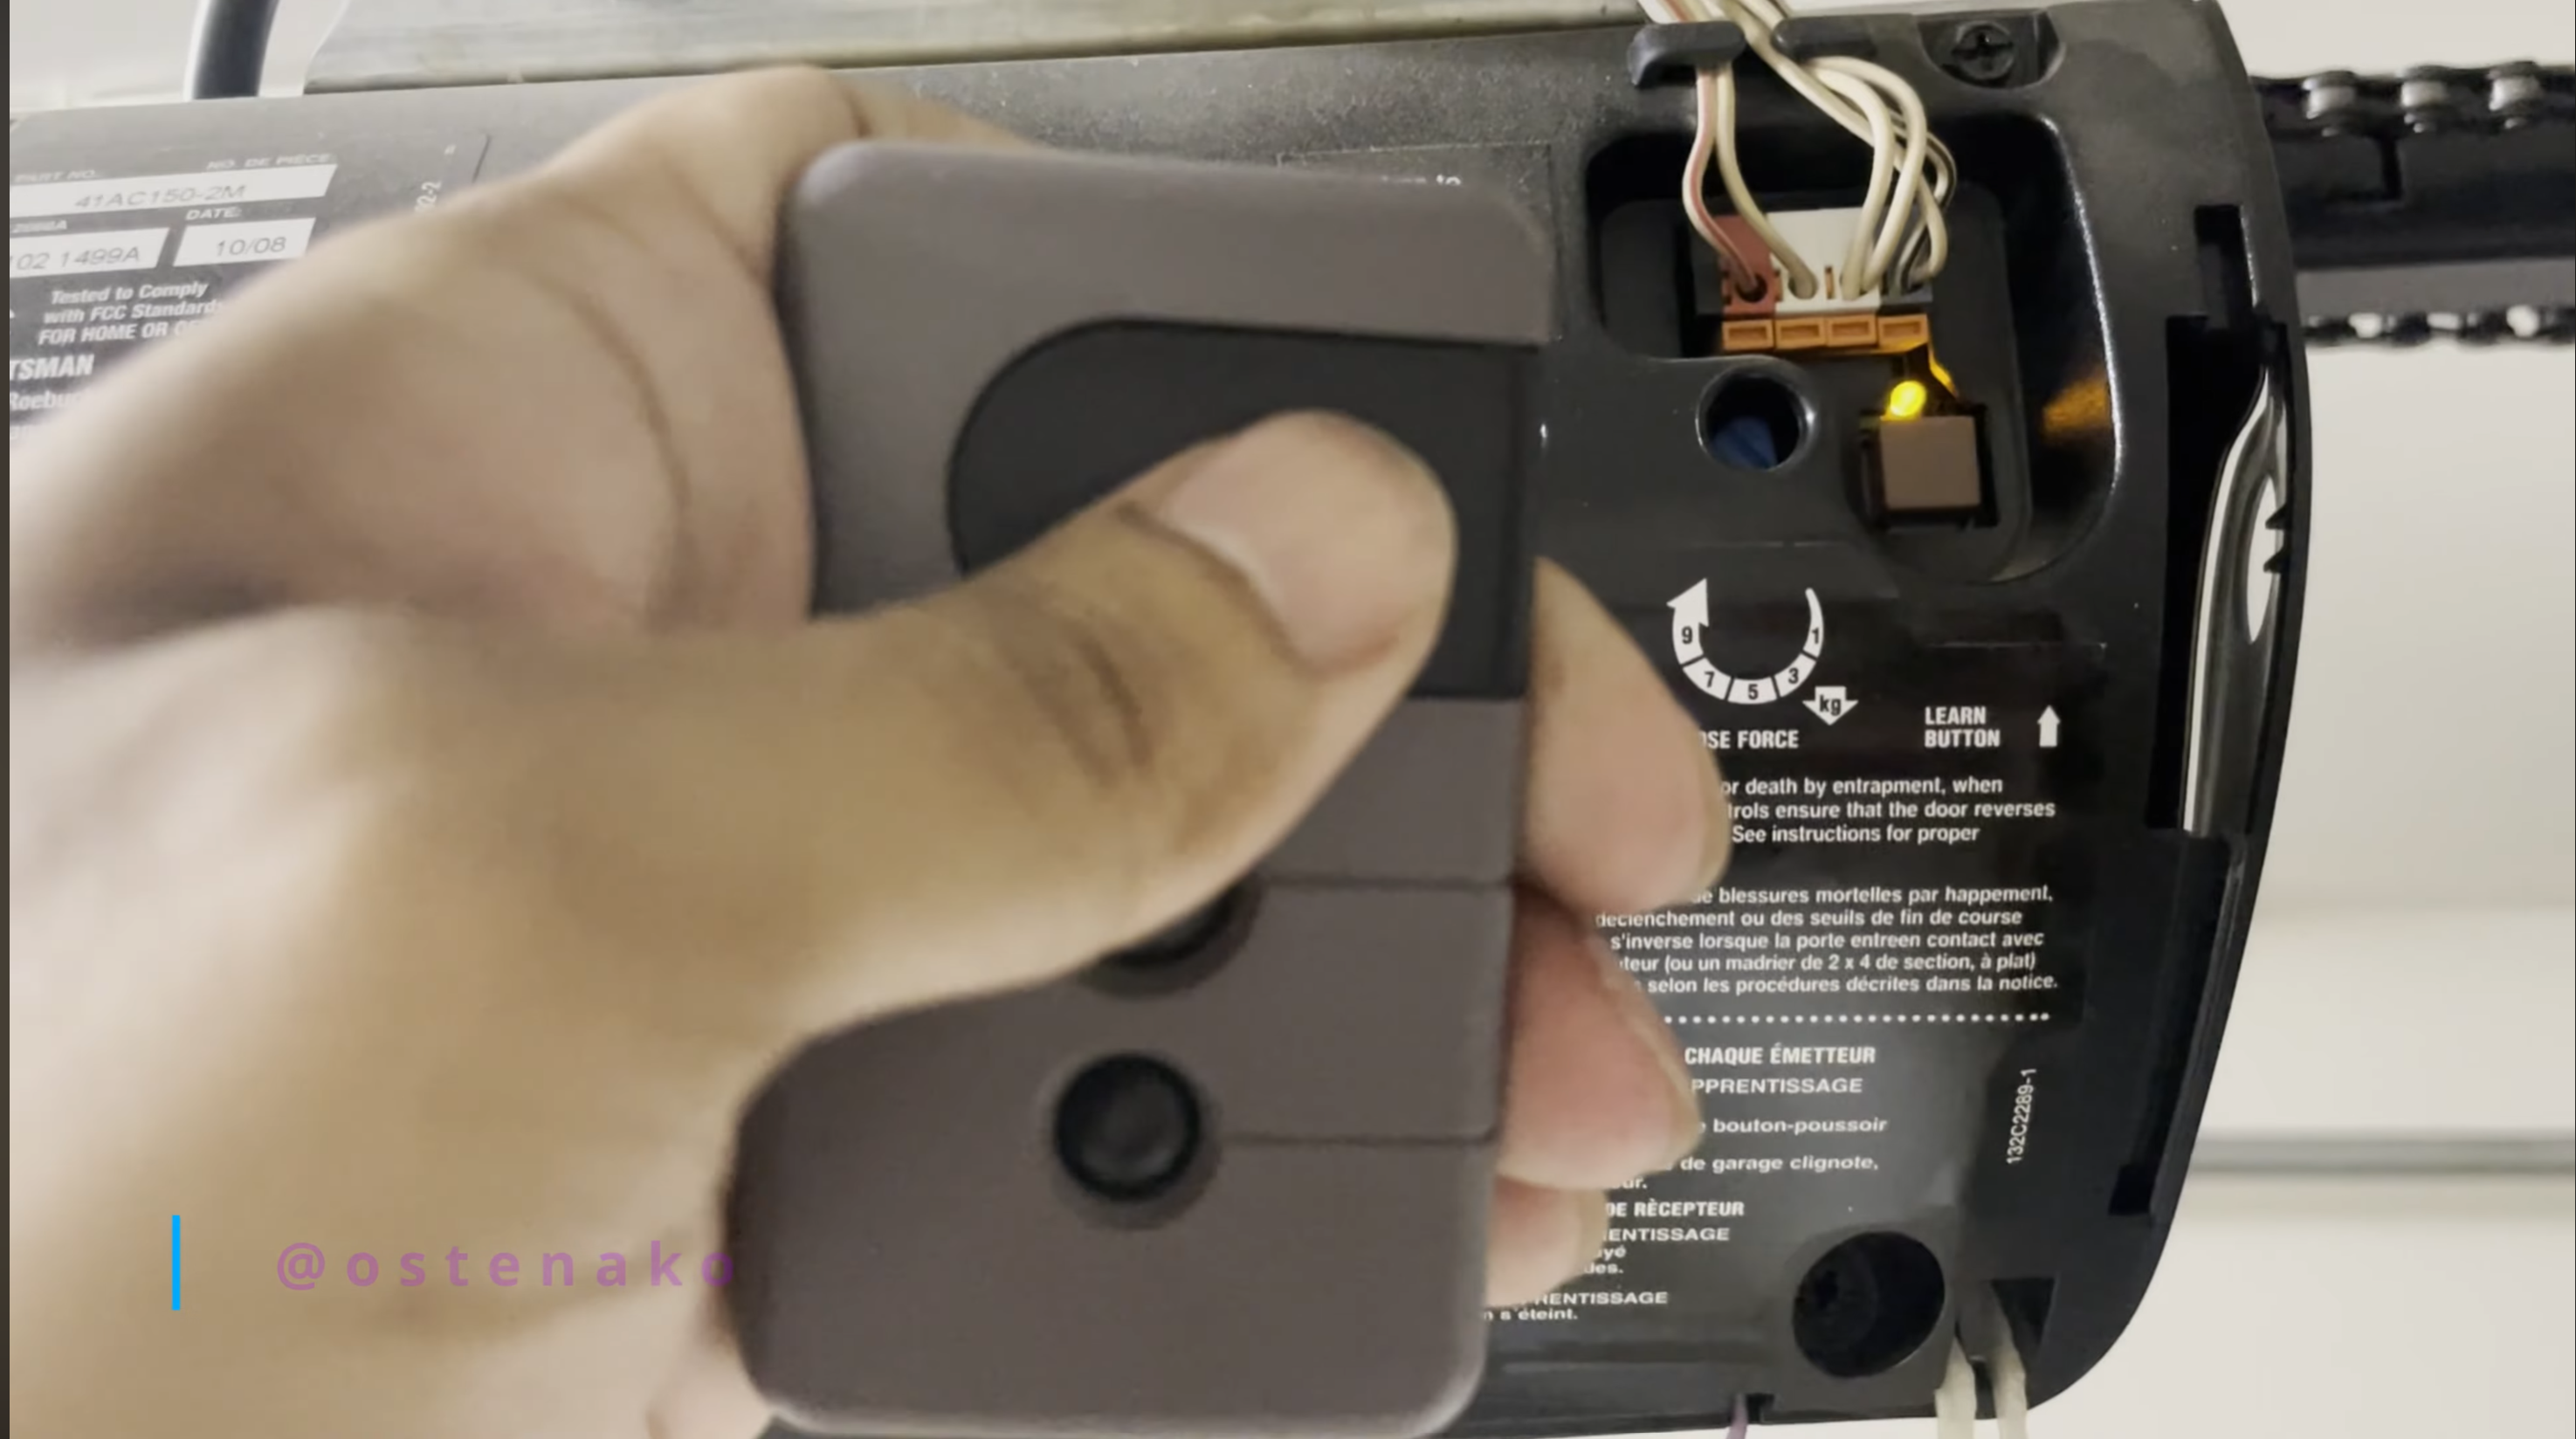
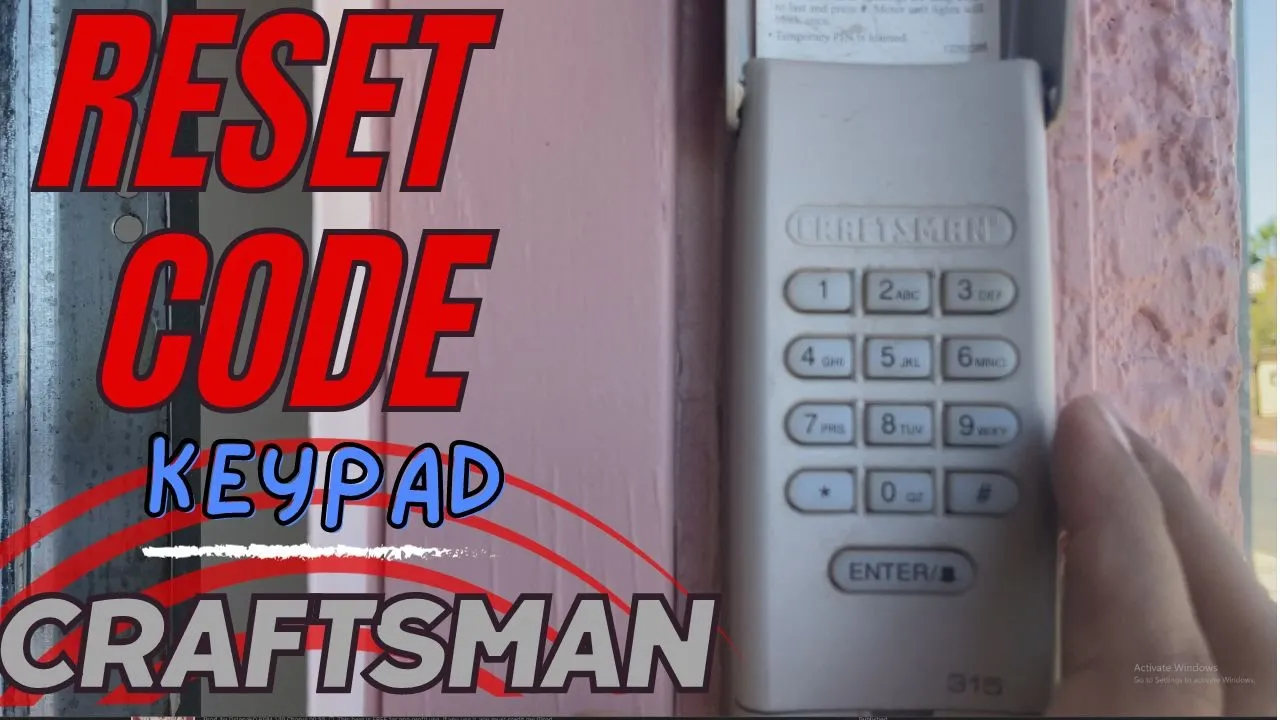
Open your garage and look up at the main motor unit mounted near the ceiling. The Learn/Program button is typically located:

  • Near the hanging antenna wire and terminal strip, or
  • Behind or beside the light cover on the back of the opener housing.

Press the light cover tab or remove a small panel if needed, then look for a colored square or round button labeled “Learn” or “Program” near a small LED indicator.

For this tutorial we’re using an opener with a purple Learn button, which corresponds to Security+ 315 MHz systems.

Step 2 – Press and release the Learn button

Make sure your garage door is fully closed and no one is walking under it before you enter programming mode.

  • Press and release the Learn/Program button once.
  • You should see a nearby LED turn on or start glowing steadily, indicating the opener is now in remote programming mode.
  • On most openers with green, red/orange, or purple Learn buttons, you now have about 30 seconds to complete the next step.
  • On many yellow Learn button (Security+ 2.0) models, the programming window can be longer (up to around 3 minutes), but the procedure is still similar.

If the LED does not turn on, double‑check that the opener has power and that you pressed the correct button.

Step 3 – Press the button on your new remote

With the Learn mode active, move to a safe distance where you can see the door and opener.

  • Press and hold the main remote button you want to assign to this opener for 1–2 seconds.
  • Release the button and watch the opener. In most cases you’ll see:
    • The opener light flash once or twice, or
    • A click from the relay and possibly a brief jog of the door, depending on the model.

This feedback indicates the opener successfully learned the new remote.

Step 4 – Test the remote

Exit programming mode and test the remote to confirm it works as expected.

  • Stand a few feet away from the door.
  • Press the programmed button on your remote once.
  • The door should open or close smoothly, and the opener light should behave as usual.

If the remote is intermittent or only works very close to the opener, check the battery, antenna position, and any potential interference sources like metal obstructions or nearby electronics.

Step 5 – Clear old remotes (optional but recommended)

If you bought a used home or suspect old remotes might still be programmed, it’s a good idea to wipe the opener’s memory and reprogram only the remotes you own.

  • Press and hold the Learn/Program button for about 6–10 seconds until the LED turns off or blinks.
  • This typically clears all remote and keypad codes from the opener, depending on the model.
  • Re‑press the Learn button once and follow Steps 3–4 to add each remote one at a time.

This extra step improves security by making sure only your remotes and keypad codes can operate the door.

Compatibility notes by Learn button color

While the programming steps above are broadly similar, the remote you buy must match your opener’s Learn button color and security technology.

Purple Learn button – Security+ 315 MHz

  • Works with remotes specifically labeled for Security+ 315 MHz or purple Learn button Craftsman/LiftMaster/Chamberlain models.
  • This includes original remotes like 371LM, 373LM, 375LM and many compatible aftermarket options such as the Cooouds 2‑pack in this guide.

Red / Orange Learn button – Security+ 390 MHz

  • Requires remotes that explicitly support Security+ at 390 MHz, often listed as red/orange Learn button compatible.
  • Purple‑button remotes usually do not work with red/orange openers and vice versa.

Green Learn button – Older Billion Code systems

  • Uses older technology and typically needs remotes designed for green Learn button or Billion Code openers.
  • Many modern universal remotes still support these, but always check the compatibility chart.

Yellow Learn button – Security+ 2.0

  • Uses the latest Security+ 2.0 rolling code encryption and only works with Security+ 2.0 remotes and accessories.
  • Older Security+ and Billion Code remotes (including purple‑button models) will not program to a yellow Learn button opener.

The safest approach is to check your opener’s model number and Learn button color, then match them against the compatibility chart provided by your remote manufacturer or the opener manufacturer’s documentation.

Remote used in this tutorial (affiliate)

In the video embedded with this article, we use a Cooouds 2‑pack replacement remote that’s designed for Craftsman/LiftMaster/Chamberlain openers with purple Learn buttons (Security+ 315 MHz).

Key details from the product listing:

  • Compatible with Sears Craftsman models such as 139.18191, 139.18192, 139.53752, 139.53753, 139.53754, TX2028, 139.53985D, 139.53990D, HBW2028, and similar.
  • Compatible with LiftMaster remotes 370LM, 371LM, 372LM, 373LM, 375LM and Chamberlain 950D, 953D, 956D.
  • Uses Security+ 315 MHz with 3‑button design to control up to three openers or gate operators.

If your opener has a different Learn button color, do not assume this exact remote will work; instead, choose a remote that clearly lists your Learn button color and technology.

Video tutorial: Watch the process

For a quick visual walkthrough, watch the accompanying YouTube short that shows these exact steps on a real Craftsman opener with a purple Learn button.

  • See the location of the Learn button on the motor unit
  • Watch the timing of pressing Learn and the remote button
  • Check the light flash and door response that indicates success

Frequently Asked Questions

Common problems and troubleshooting

Even with the right remote, a few common issues can derail programming.

Remote doesn’t program at all

  • Confirm your remote is actually compatible with your Learn button color and opener model.
  • Make sure the opener is getting power and that the Learn LED comes on when you press the button.
  • Try clearing all codes by holding the Learn button for 6–10 seconds, then re‑enter programming mode and add the remote again.

Remote only works very close to the opener

  • Replace the remote battery if it’s old or weak.
  • Inspect the opener’s hanging antenna wire to ensure it’s not damaged, tucked up, or wrapped around metal brackets.
  • Look for sources of interference such as LED bulbs, Wi‑Fi routers, or metal around the opener and relocate them if possible.

Existing remotes stopped working after adding a new one

  • On many models, adding a new remote does not erase old ones, but performing a full memory clear does.
  • If you held the Learn button too long, you may have wiped all codes and need to reprogram every remote and keypad following the same steps.

If repeated attempts fail, or if your opener is unusually old or noisy, consider contacting a professional garage door technician to inspect the unit and verify the control board and safety sensors are working correctly.

Content Type
Tutorial
Video Published
June 8, 2026
Tags
Craftsman garage door, garage door opener, garage door remote, remote programming, purple learn button, Security+ 315 MHz, Sears Craftsman, LiftMaster, Chamberlain, DIY home repair, home security

Check out my other blogs...