
Complete guide for safely removing old Honeywell thermostats. Step-by-step instructions with safety tips, wire management, and troubleshooting for DIY thermostat replacement.
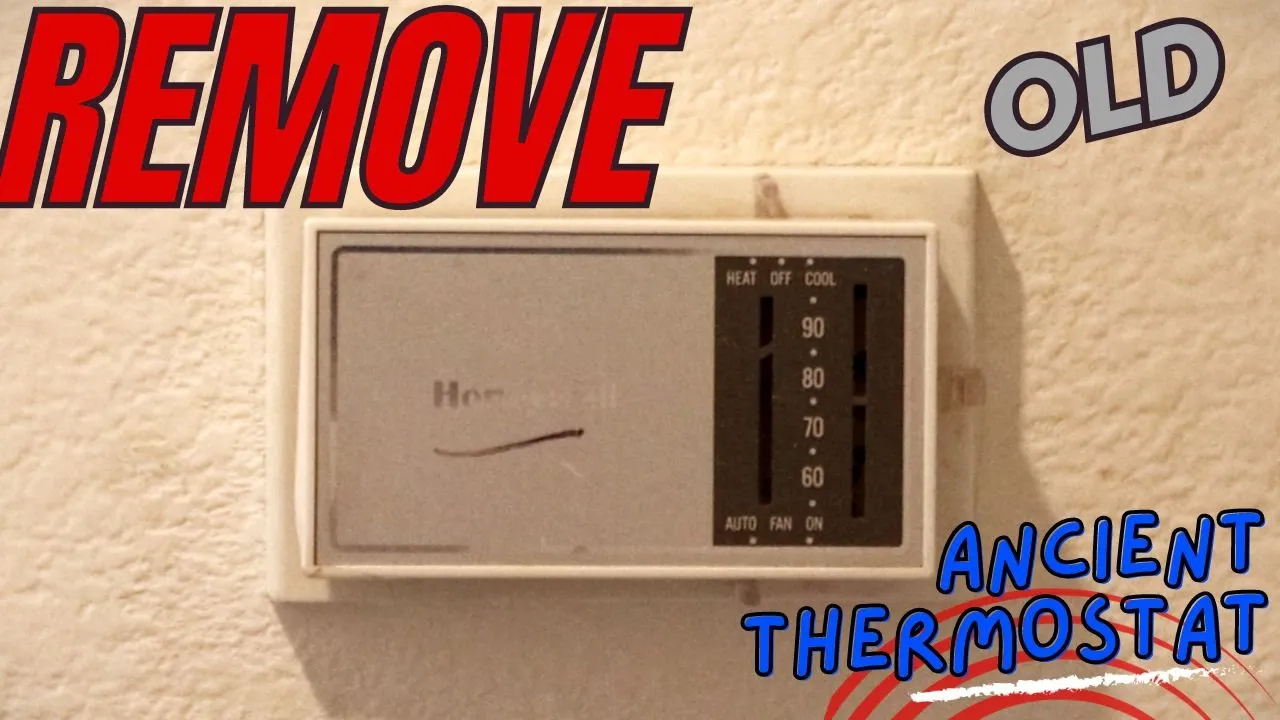
Removing an old Honeywell thermostat might seem daunting, especially if you're dealing with an ancient model that's been painted over multiple times. After successfully removing several vintage Honeywell units, I'll walk you through the complete process to ensure a safe, efficient removal.
Upgrading from an old mechanical thermostat to a modern programmable or smart model can reduce energy costs by 10-15% annually. Old Honeywell thermostats, while reliable, lack the scheduling features and energy optimization of newer models.
Signs it's time to upgrade:
Before touching any wires or components, these safety steps are non-negotiable:
1. Turn Off Power
2. Verify Power is Off
3. Gather Required Tools
Before removing anything, take clear photos of:
This documentation proves invaluable if issues arise during installation of your new thermostat.
Most Honeywell thermostats have a two-piece design:
For Round Models:
For Rectangular Models:
If the faceplate is stuck:
With the faceplate removed, you'll see the backplate attached to the wall. Count the mounting screws - typically 2-4 depending on the model age and size.
Common configurations:
Before disconnecting any wires, create a detailed record:
Take multiple photos showing:
Common wire colors and functions:
Use the labels included with your new thermostat, or create your own:
Labeling method:
For painted-over screws:
If screws are stripped:
Proper wire removal technique:
Wire condition assessment:
Gentle removal process:
If backplate is stuck to wall:
Problem: Thermostat painted over multiple times
Solution: Score around edges with box cutter, use hair dryer to warm paint, work slowly
Problem: Old screws won't turn or heads are damaged
Solution: Apply penetrating oil, use manual screwdriver first, consider screw extractors
Problem: Wires don't match standard color codes
Solution: Focus on terminal labels rather than colors, test with multimeter if uncertain
Problem: New smart thermostat requires C-wire but old system doesn't have one
Solution: Install C-wire adapter, run new wire, or choose thermostat with alternative power options
After removing the old unit:
Ensure adequate wire length:
Before installing your new thermostat:
Consider professional installation if you encounter:
If your old thermostat contains mercury:
With your old Honeywell thermostat safely removed:
Make the job easier:
Avoid common mistakes:
Removing an old Honeywell thermostat is a manageable DIY project with proper preparation and safety precautions. The key to success lies in thorough documentation, patient work, and prioritizing safety over speed.
Most homeowners can complete this task in 30-60 minutes, saving the cost of a service call while gaining confidence for future home improvement projects. Remember that taking your time during removal makes the subsequent installation much smoother.
If you encounter any unusual wiring or feel uncertain about any step, don't hesitate to consult with an HVAC professional. The cost of a consultation is minimal compared to potential damage from incorrect handling.
Q: Do I need to turn off power to remove a thermostat?
A: Yes, always turn off power at both the circuit breaker and furnace before removing any thermostat. Use a non-contact voltage tester to verify power is off before handling wires.
Q: What if my thermostat is painted over and won't come off?
A: Use a box cutter to carefully score around the edges where paint has sealed the unit. Apply gentle pressure and work slowly to avoid cracking the faceplate or damaging the wall.
Q: How do I know which wire goes where if colors don't match?
A: Focus on the terminal labels (R, W, Y, G, C) rather than wire colors. Take detailed photos before disconnecting anything, and label each wire as you remove it.
Q: Can I remove a thermostat without professional help?
A: Most homeowners can safely remove standard residential thermostats following proper safety procedures. Call a professional if you're dealing with high-voltage systems, complex zoning, or feel uncertain about any step.
Q: What should I do with my old mercury thermostat?
A: Never throw mercury thermostats in regular trash. Contact your local recycling center or HVAC contractor for proper disposal. Many areas have special collection programs for mercury-containing devices.


.jpg)


.jpg)